
What if you could master AI innovation in just six weeks? Here’s how.
Join Build Fast with AI’s Gen AI Launch Pad 2025—a 6-week program designed to empower you with the tools and skills to lead in AI innovation.
Introduction
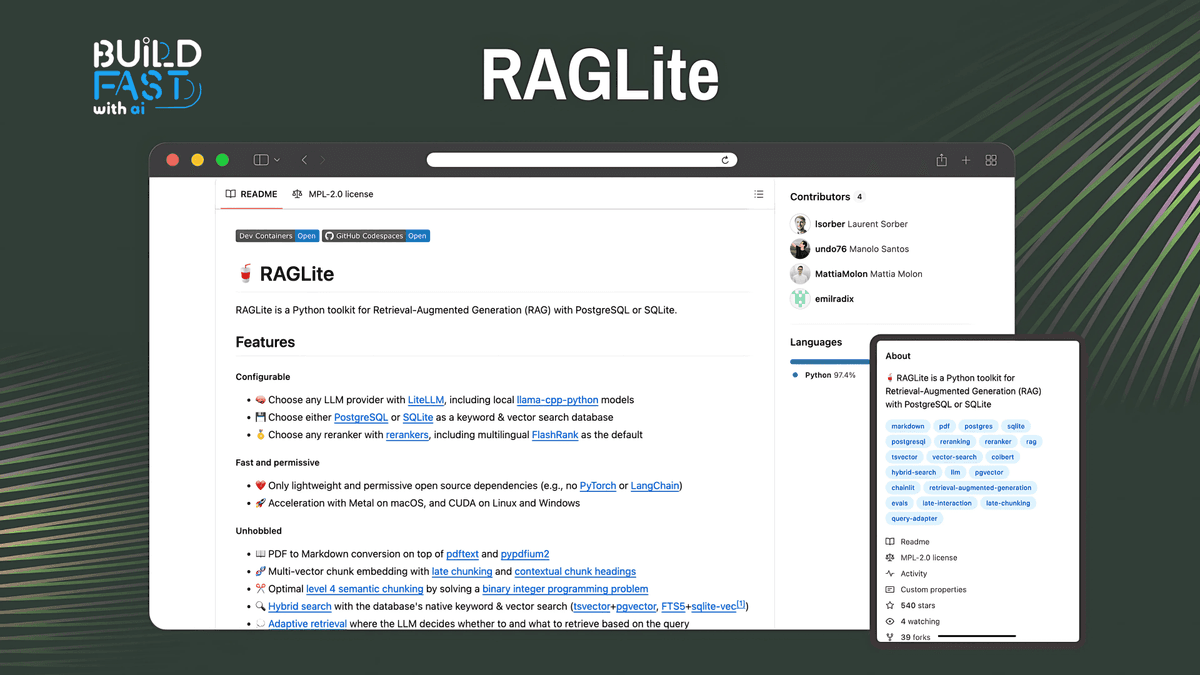
In today’s AI-driven world, the ability to access and use external information efficiently has become increasingly important. Retrieval-Augmented Generation (RAG) is a powerful technique that combines the strength of information retrieval and language models to generate more contextually relevant answers. With the introduction of RAGLite, a robust, open-source framework, developers can integrate RAG capabilities seamlessly into their AI applications. This blog post will walk you through a detailed breakdown of RAGLite, its features, and how to implement it step-by-step, using various code blocks from the framework’s official notebook.
Whether you're building a chatbot that requires real-time information or a search engine that needs precise document retrieval, this guide will give you the tools to get started with RAGLite effectively.
Detailed Explanation of Code Blocks
1. Installing RAGLite
Before you dive into the core features of RAGLite, you’ll need to install the framework. The following command installs RAGLite via pip.
!pip install raglite
Explanation:
This single line of code uses Python’s package manager pip to install the RAGLite library. By executing this command, you ensure that the necessary dependencies and components for the framework are installed, allowing you to begin using the advanced features RAGLite offers.
Expected Output:
Once the command is executed successfully, you should see a confirmation message indicating that the package has been installed. For instance:
Successfully installed raglite-<version>
Real-World Use Case:
You can use this installation step in any Python environment, like Jupyter Notebooks or Google Colab, to get started with RAGLite in just a few minutes.
2. Importing API Keys
Next, let’s configure the framework by importing API keys, which are required to access certain services (like OpenAI models) through RAGLite.
import os
from google.colab import userdata

os.environ['OPENAI_API_KEY'] = userdata.get('OPENAI_API_KEY')
Explanation:
Here, you're importing the necessary libraries to set environment variables for API keys. This code specifically imports the OpenAI API key, allowing you to access and use models such as GPT-4 in your retrieval-augmented generation tasks. The userdata.get('OPENAI_API_KEY') retrieves the key stored in your Google Colab environment.
Expected Output:
There is no direct output, but this code sets the environment variable, enabling the API to work with OpenAI models in subsequent steps.
Real-World Use Case:
This is essential when you need to interact with external services such as OpenAI’s GPT models, or any service that requires an API key for access. Make sure to store your keys securely.
3. Configuring RAGLite
Now, you can configure the RAGLite framework by setting up parameters such as the database URL, language model (LLM), and document embedder.
from raglite import RAGLiteConfig

my_config = RAGLiteConfig(
    db_url="sqlite:///raglite.db",
    llm="gpt-4o-mini",
    embedder="text-embedding-3-large",
)
Explanation:
Here, you're creating a configuration object that specifies how the retrieval and generation process should operate:
db_url: This points to a SQLite database where your documents will be stored.llm: Specifies which language model to use, in this case, a smaller version of GPT-4 (the "mini" model).embedder: Defines the embedding model used to convert text into vector representations for document retrieval.
Expected Output:
This code will not produce output but will prepare your configuration settings for future use. You can think of it as setting up the environment for a personalized RAG system.
Real-World Use Case:
This setup is useful when you need to customize how your RAG model behaves by selecting a specific database and embedding model. For example, a large organization might use an extensive document database, while a smaller app might need only a simple SQLite configuration.
4. Configuring RAGLite with a Reranker
RAGLite allows you to fine-tune how documents are ranked by introducing a reranking mechanism. In the next block of code, we set up a reranker for English documents.
from rerankers import Reranker

my_config = RAGLiteConfig(
    db_url="sqlite:///raglite.db",
    reranker=(
        ("en", Reranker("ms-marco-MiniLM-L-12-v2", model_type="flashrank")),  # English
    )
)
Explanation:
This code modifies the earlier configuration by adding a reranker. A reranker is a model that helps to order the retrieved documents in a way that improves the quality of results. The ms-marco-MiniLM-L-12-v2 model is used here, which is optimized for tasks like ranking document relevance.
Expected Output:
Again, no direct output is produced, but the configuration is now optimized for reranking retrieved documents before they are passed to the language model.
Real-World Use Case:
You would use rerankers when you need to improve the precision of your document retrieval system. For example, in a research application, you may want to ensure that the most relevant papers are retrieved first.
5. Downloading and Inserting Documents
Once your configuration is ready, you can download documents and insert them into the database.
!wget -P /content/ https://arxiv.org/pdf/1911.01547.pdf
from raglite import insert_document
from pathlib import Path

pdf_path = Path('/content/1911.01547.pdf')
insert_document(pdf_path, config=my_config)
Explanation:
This code performs two actions:
- It uses the
wgetcommand to download a PDF document from ArXiv to the local filesystem. - It inserts the downloaded document into the RAGLite system for future retrieval, using the
insert_documentfunction.
Expected Output:
- The
wgetcommand should print a message confirming the download of the PDF file. - The document will be inserted into the database, and no direct output is expected unless an error occurs.
Real-World Use Case:
This is useful for knowledge-driven AI applications where documents or research papers need to be inserted and indexed for later retrieval. Imagine an academic research assistant bot that pulls relevant research papers for users.
6. Adaptive RAG Example
Adaptive RAG shows how to retrieve relevant information and adjust responses in real-time based on retrieved context.
from raglite import rag

messages = []
messages.append({
    "role": "user",
    "content": "How is intelligence measured?"
})

chunk_spans = []
stream = rag(messages, on_retrieval=lambda x: chunk_spans.extend(x), config=my_config)
for update in stream:
    print(update, end="")

documents = [chunk_span.document for chunk_span in chunk_spans]
Explanation:
This block demonstrates adaptive retrieval-augmented generation. It starts with a user question ("How is intelligence measured?"), retrieves relevant documents, and generates a response based on the retrieved context. The retrieved documents are stored in chunk_spans.
Expected Output:
You will see streaming outputs from the rag function as it fetches and processes the documents, followed by the relevant document content.
Real-World Use Case:
Adaptive RAG is particularly useful for real-time applications like chatbots or question-answering systems, where dynamic information retrieval is essential for delivering accurate and up-to-date answers.
7. Programmable RAG
The final example shows how to create instructions based on user queries and retrieved context, leading to more programmable and customizable RAG solutions.
from raglite import create_rag_instruction, retrieve_rag_context

user_prompt = "How is intelligence measured?"
chunk_spans = retrieve_rag_context(query=user_prompt, num_chunks=5, config=my_config)

messages = []
messages.append(create_rag_instruction(user_prompt=user_prompt, context=chunk_spans))

stream = rag(messages, config=my_config)
for update in stream:
    print(update, end="")

documents = [chunk_span.document for chunk_span in chunk_spans]
Explanation:
Here, the code first retrieves relevant document chunks using a query and the configuration. Then, it creates a RAG instruction, which instructs the model to consider the retrieved context when generating a response.
Expected Output:
The output will be a series of responses generated based on the user query and the relevant document chunks.
Real-World Use Case:
This is ideal for building complex, highly interactive systems where users can ask nuanced questions and the system responds based on a mix of user input and a broad knowledge base.
Conclusion
RAGLite is a game-changer for developers aiming to leverage the power of retrieval-augmented generation in their AI applications. By using this framework, you can easily integrate retrieval and generation, fine-tune the ranking of your document retrievals, and generate highly relevant content in real-time. This guide has covered the essential steps for setting up and configuring RAGLite, from installation to retrieving and generating contextual responses.
Next Steps
- Explore more advanced configurations and features in the RAGLite documentation.
- Build your own retrieval-augmented system by experimenting with different language models and retrievers.
- Integrate RAGLite into your own applications like knowledge assistants, customer service bots, or research tools.
Resources Section
---------------------------
Stay Updated:- Follow Build Fast with AI pages for all the latest AI updates and resources.
Experts predict 2025 will be the defining year for Gen AI implementation.Want to be ahead of the curve?
Join Build Fast with AI’s Gen AI Launch Pad 2025 - your accelerated path to mastering AI tools and building revolutionary applications.
---------------------------
Don't just use ChatGPT. Learn to build custom LLM agents, RAG pipelines, and full-stack Agentic AI apps in our intensive 6-week program.
Resources and Community
Join our community of 12,000+ AI enthusiasts and learn to build powerful AI applications! Whether you're a beginner or an experienced developer, this tutorial will help you understand and implement AI agents in your projects.
- Website: www.buildfastwithai.com
- LinkedIn: linkedin.com/company/build-fast-with-ai/
- Instagram: instagram.com/buildfastwithai/
- Twitter: x.com/satvikps
- Telegram: t.me/BuildFastWithAI